About the Laboratory
The metal purchased for the production of products passes the quality testing of compliance with the regulatory documents.
During the incoming inspection, as a matter of course, a visual inspection control of lengths and quantities is carried out. First of all, the diameters of rolled products (and for hexagonal rolled products — external dimensions) are determined to exclude the transfer of materials with geometric deviations to production
In our laboratory we carry out the incoming inspection of metals. Primarily, this is metals and alloys identification.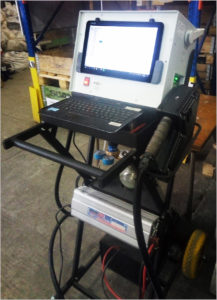
Metals identification is performed using a certified mobile optical emission spectrometer with output. We guarantee objectivity, independence during testing, as well as the accuracy and reliability of the results!
Analysis of steels and iron-based alloys with alloying elements: Al, Ti, V, Cr, Mn, Co, Ni, Cu, As, Nb, Mo, W; non-metallic elements: Si, P, S, as well as the carbon content determination.
Sample shape and size:
The spectrometer allows you to analyze the material without making samples at the site of the control object .
- Bar: end diameter from 16 mm;
- Pipes, bends: diameter from 57 mm;
- Flat samples: from 15×15 mm .
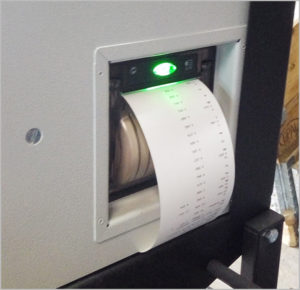
Analysis results — A protocol of spectral analysis results created by a spectrometer without operator participation or a protocol in electronic form (Word, Excel).
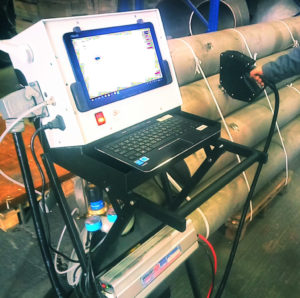
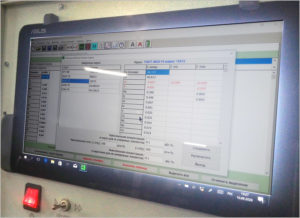
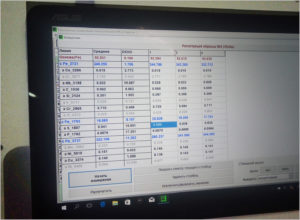
Hardness testing of metals and alloys. 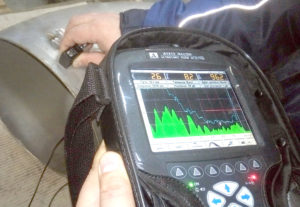
Sample shape and size:
- Round bars: for diameters from 16 to 25 mm — length from 50 mm;
- For diameters from over 25 mm — length from 10 mm;
- Sheet materials: thickness from 5 mm, minimum size 10×20 mm; ;
Analysis results — Conclusion on the physical and mechanical properties of the sample.
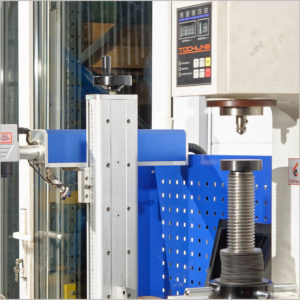
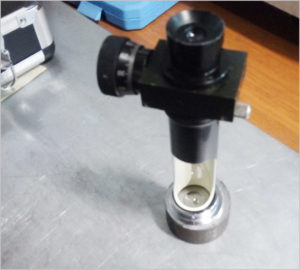
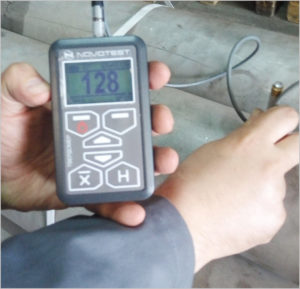
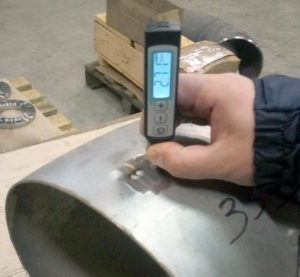
At the request of the client, we can carry out the above analysis of metals and alloys.
The laboratory is in the process of accreditation.
For verification and analysis, please contact sale@zsd-silena.ru


